How a Team Collaborates in Foreceipt
Watch the 2-minute team collaboration walkthrough
What Does Team Collaboration Offer?
-
Bring your team together in Foreceipt.
-
Choose from flexible permissions—Admins, Editors, or Viewers—to tailor access levels.
-
Easily view, edit, and report on receipts as a group.
-
Generate consolidated reports that include receipts from everyone on the team.
Step-by-Step: Getting Started Together
1. Create Your Team
Log in via the web portal or app and go to “My Team” in the main menu to set up your team.
2. Invite Team Members
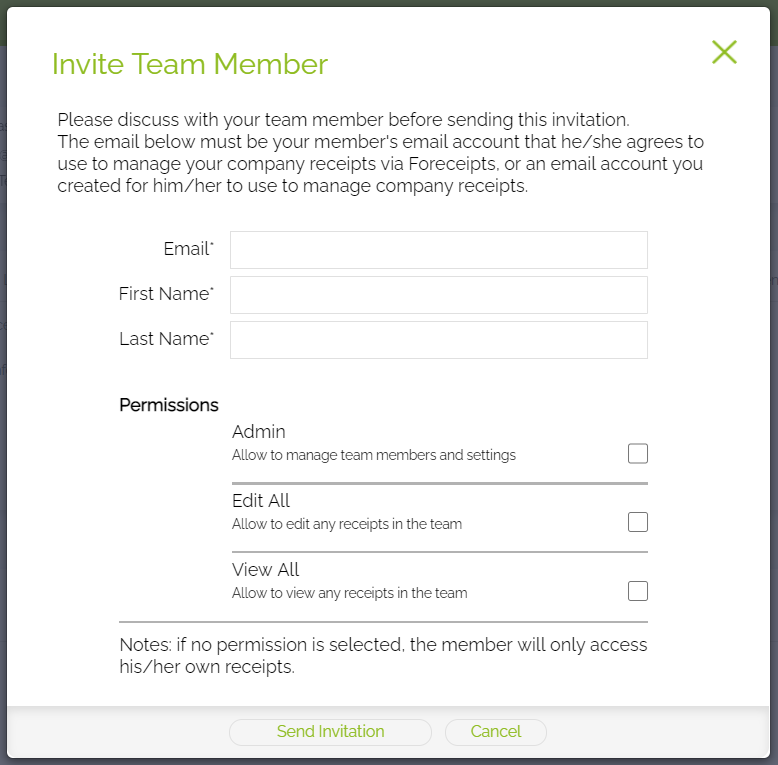
From the “My Team” page, click “Invite Team Member,” enter their email, and define their permission level.

3. Members Join the Team
Invited users receive an email. They can click the link or sign in to the web portal and accept the invite. Their receipts will then auto-sync to the team.4. Manage Your Team
Admins can:
-
Invite or remove members
-
Adjust permissions (e.g., Own-only, View All, Edit All, Manage Team)
-
Resend or cancel invitations
All receipts from members remain accessible to the team even if someone is removed.

5. Receipt Access Levels
-
Admin: Full control over team settings, categories, accounts, invites, and receipts.
-
Edit All: Can view/edit all receipts but cannot adjust categories/accounts or manage team.
-
View All: Can only view everyone’s receipts, plus manage their own.
-
Basic Member (no special permission): Can only access and manage their own receipts.
6. Generate Team Reports
Admins or users with View All or Edit All access can generate comprehensive reports. Reports can be created from the Reports tab or Receipts → All view in the web portal.
